Recommended Age: All-Ages
Evelyn Lambart is undoubtedly one of the most important figures in early Canadian animation. She is known for her distinct cut paper animations that feature colourful, hand-painted characters depicting Aesop’s Fables, and other stories.
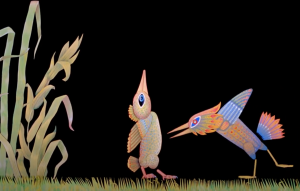
Still from Evelyn Lambart, The Hoarder, Canada, 1969, 7 min.
Lambart used stop motion animation to make her films. Against a black backdrop set up on a large table, she would physically manipulate the actions of her characters in small increments, capturing each gesture with a camera from above. The photographs were then assembled and played back to exhibit independent motion. Each movement of a hand, limb or expression was done meticulously by hand.
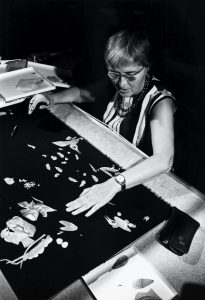
Fine Feathers, Directed by Evelyn Lambart. Photo taken from the production, 1968, National Film Board of Canada. All rights reserved.
Of her beautifully illustrated animation work, Lambart said:
“I loved to … figure out what you need to tell your story, and then to make it myself, to design the character and paint it and draw it and then to sit under the camera and move it. I did all the shooting myself too. I used to hope I was making films that were simple enough for children but still interesting to adults.”
Find out more about Evelyn Lambart in the following interview and documentary where she gives insight into her early days at the NFB and her distinct animation style:
Making Movie History: Evelyn Lambart (Interview)
Eleven Moving Moments with Evelyn Lambart (Documentary)
Make your own stop motion animation inspired by Evelyn Lambart’s work
You will need:
- Coloured paper
- Scissors
- Glue
- Tape
- Camera/phone
- Tripod (if you have one)
Step 1: Assemble Materials & Plan Your Scene
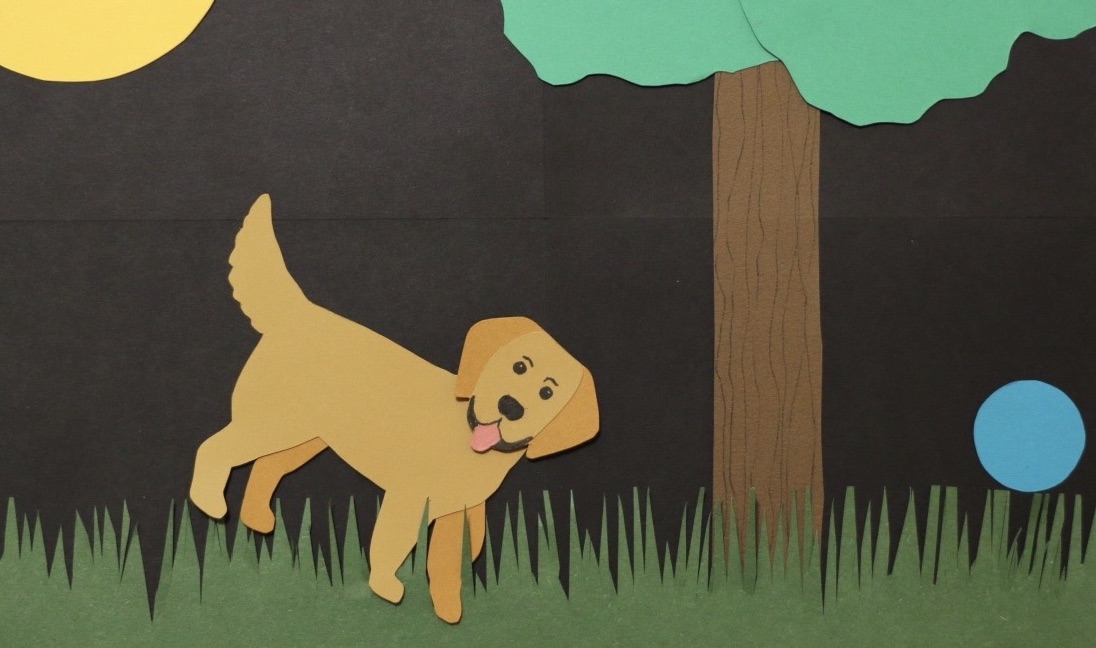
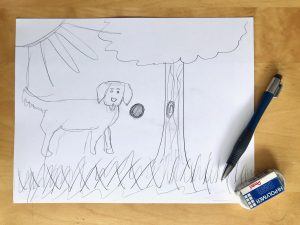
Think of a simple scene that you can make out of paper. I was inspired by Evelyn Lambart’s animal cutouts so I decided to create an outdoor scene of a dog chasing a ball.
You can plan out your scene by creating a quick sketch:
Step 2: Cut Out Your Paper Shapes
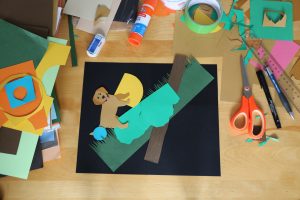
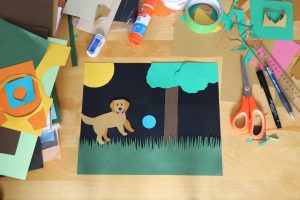
Draw and cut out the paper shapes you will need to compose your scene. As you can see below, I cut out a tree trunk, tree leaves, grass, a sun, a dog, and a ball, using different coloured pieces of paper.
Evelyn used a black background for many of her stop motion films, so I used black paper as the base for my scene. If you don’t have black paper at home, try using a different colour, or even recycled wrapping paper or newspaper as your background.
Lay your pieces out on your background to see where everything will go:
Step 3: Prepare Your Stop Motion Set Up
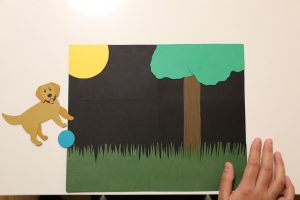
Tape or glue down any pieces that you don’t want to move when you are making your stop motion animation. For example, I taped down the sun, tree, and grass to the background. Make sure you also tape the whole collage to the table or floor so that it doesn’t move.
Next, set up your camera or phone. If you have a tripod, set it up so that the camera is pointing downwards onto your paper scene. If you don’t have a tripod, you can ask someone to hold a phone or camera (very still!) directly above the piece.
Step 4: Take Photos
With the camera in the exact same position every time, begin taking photos of your paper scene, carefully moving your animated pieces a little bit in between each photo. You can take as many as you like – the more photos and tiny movements you make with your paper animations, the smoother your final piece will look. For my 4-second scene, I took 18 photos in total.
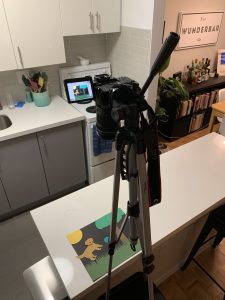
Behind-the-scenes of making my stop motion piece!
Step 5: Edit Together Your Stop Motion Piece
Upload the photos to your computer and use a movie-making program to stitch the photos together into a continuous scene. If you are using your phone, you can use a stop motion app to stitch the photos together. I used iMovie, importing all 18 photos and setting them to play for 0.2 seconds each. Check out my final piece:
I hope you enjoy this activity! Share your stop motion animation on social media and tag us @mocatoronto!
By: Alexandra Brickman, Learning Coordinator at MOCA Toronto


