Recommended Age: All-Ages
Working with clay can reduce feelings of negativity and lessen anxiety. A pinch pot is a small vessel you can create with your hands and other tools easily found around the house. These tutorial images and videos will guide you through the process of building a pinch pot animal!

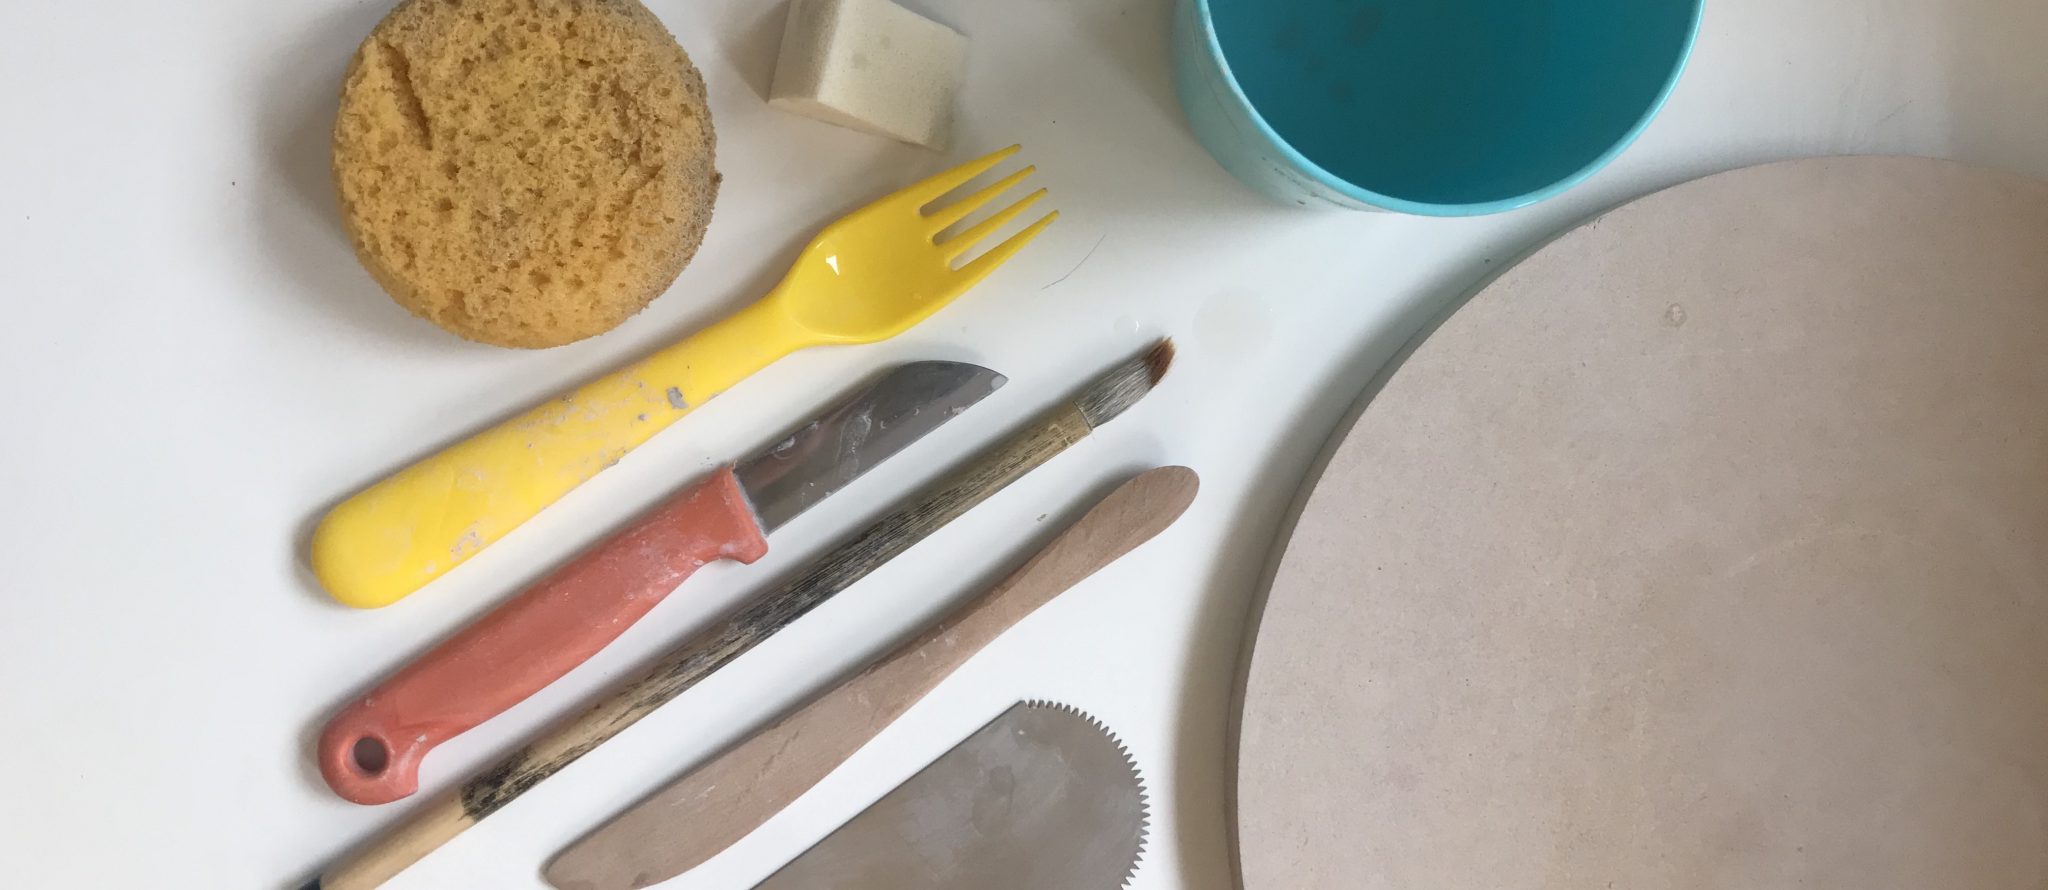
You will need:
- Air drying clay (Sculpey polymer clay or plasticine is an option too)
- Dry, moisture-absorbent surface (particle board, canvas, or even a tea towel)
- Container (bowl or empty yogurt container)
- Water (for dipping fingers and joining pieces)
- Fork or toothpick (for scratching the clay where you’ll join pieces)
- Sponge (for smoothing the clay at the end – makeup sponges are extra smooth)
- Paint brush (for painting!)
- Acrylic paint (to give your pot personality!)
Optional:
- Metal scraper, credit card, or old TTC Pass (for smoothing the clay)
- Clay modelling tools (these can be found in most art stores in a kit)
- Any mark-making materials to add texture (for example, you could use a popsicle stick to create scales on a fish or a toothpick to make dimples)
Before you start, watch this clip of Amanda demonstrating how to make a pinch pot:
Now, you’re ready to get started!
Step 1:
Set up a work station with all your materials and fill your container with a little water. If you are using air drying clay, cut or tear off a piece about 1/2 inch thick.
Step 2:
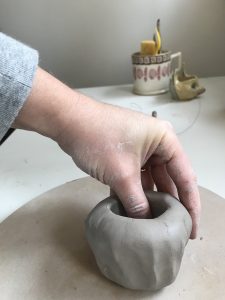
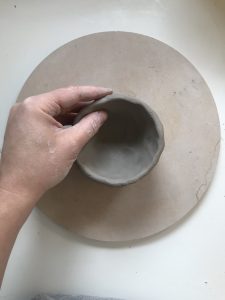
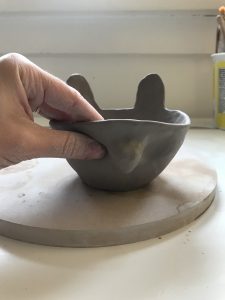
Shape your clay into a ball with your hands. Then, using your thumb, press into the centre of the ball and use your other fingers on the outside to pinch in a circular motion. Continue to pinch until you have formed a small hollow bowl shape. If your pot gets too thin or you don’t like the shape, just squish it and start over! Clay is very forgiving.


Step 3:
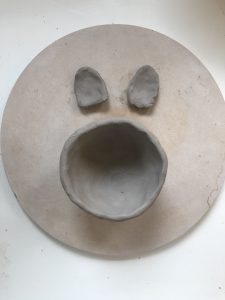
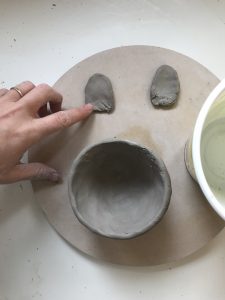
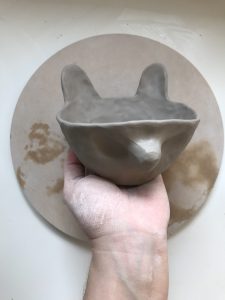
Grab a little bit more clay to make your ears and nose or anything else you might like to add. Think tail, claws, wings… whatever you want!
Step 4:
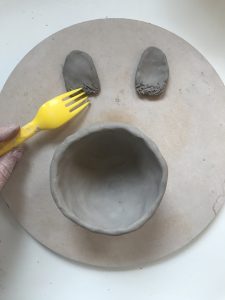
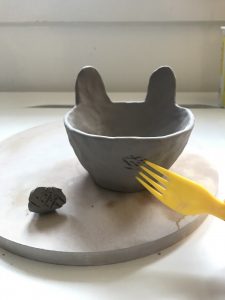
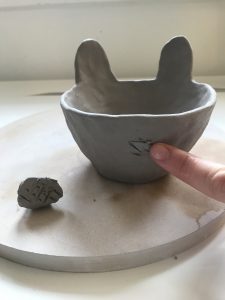
Once you decide where you’d like to attach them, scratch BOTH of the areas where you will be attaching. By scratching (also known as scoring), you’re preparing the pieces to connect properly.

Step 5:
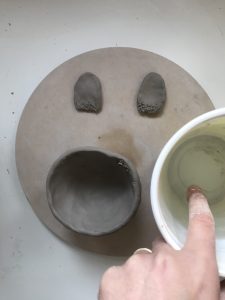
Use your finger to add a small amount of water to both the pieces and pot where you scratched. You don’t need to use much at all. This will make the pieces stick!
Step 6:
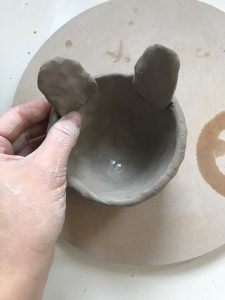
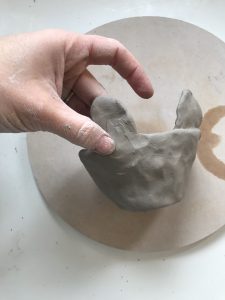
Attach your pieces and use your fingers to blend the clay together on either side.
Step 7:
Allow your pinch pot to air dry and use acrylic paint to decorate. You can also use white glue to add sparkles!
If you want to put your pinch pot outside, you’ll need to ‘seal’ it to protect it from the elements. You can do this by using a coat of either acrylic gloss medium or a mix of equal parts PVA glue and water. Below are the steps to seal air-dry clay:
- Use a paint brush to cover the entire sculpture with acrylic gloss medium or a mix of PVA glue and water.
- Let this dry, and then give your work a coat of grey acrylic paint (we recommend using acrylic paints because they help seal air drying clay to protect it from moisture).
- After the grey coat has dried, give it two coats of the final colours.
Here are some options for clay you can buy at most local art stores:
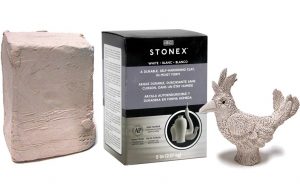
Amaco Stonex Self-Hardening Clay
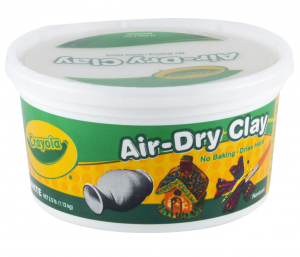
Crayola Air-Dry clay
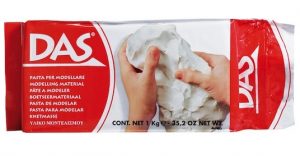
Das Modeling Clay
We hope you enjoy this activity! Share your finished pieces on social media and tag us @mocatoronto and @mud.makers.studio.
About Mud Makers
Mud Makers Studio is owned and operated by artist and educator Amanda Wyman. The studio offers clay hand-building classes and events for all ages and abilities. Mud Makers is currently closed to the public due to Covid-19, and is functioning as a members-only studio. We are looking forward to running classes again soon.
Please find us at www.mudmakersstudio.


